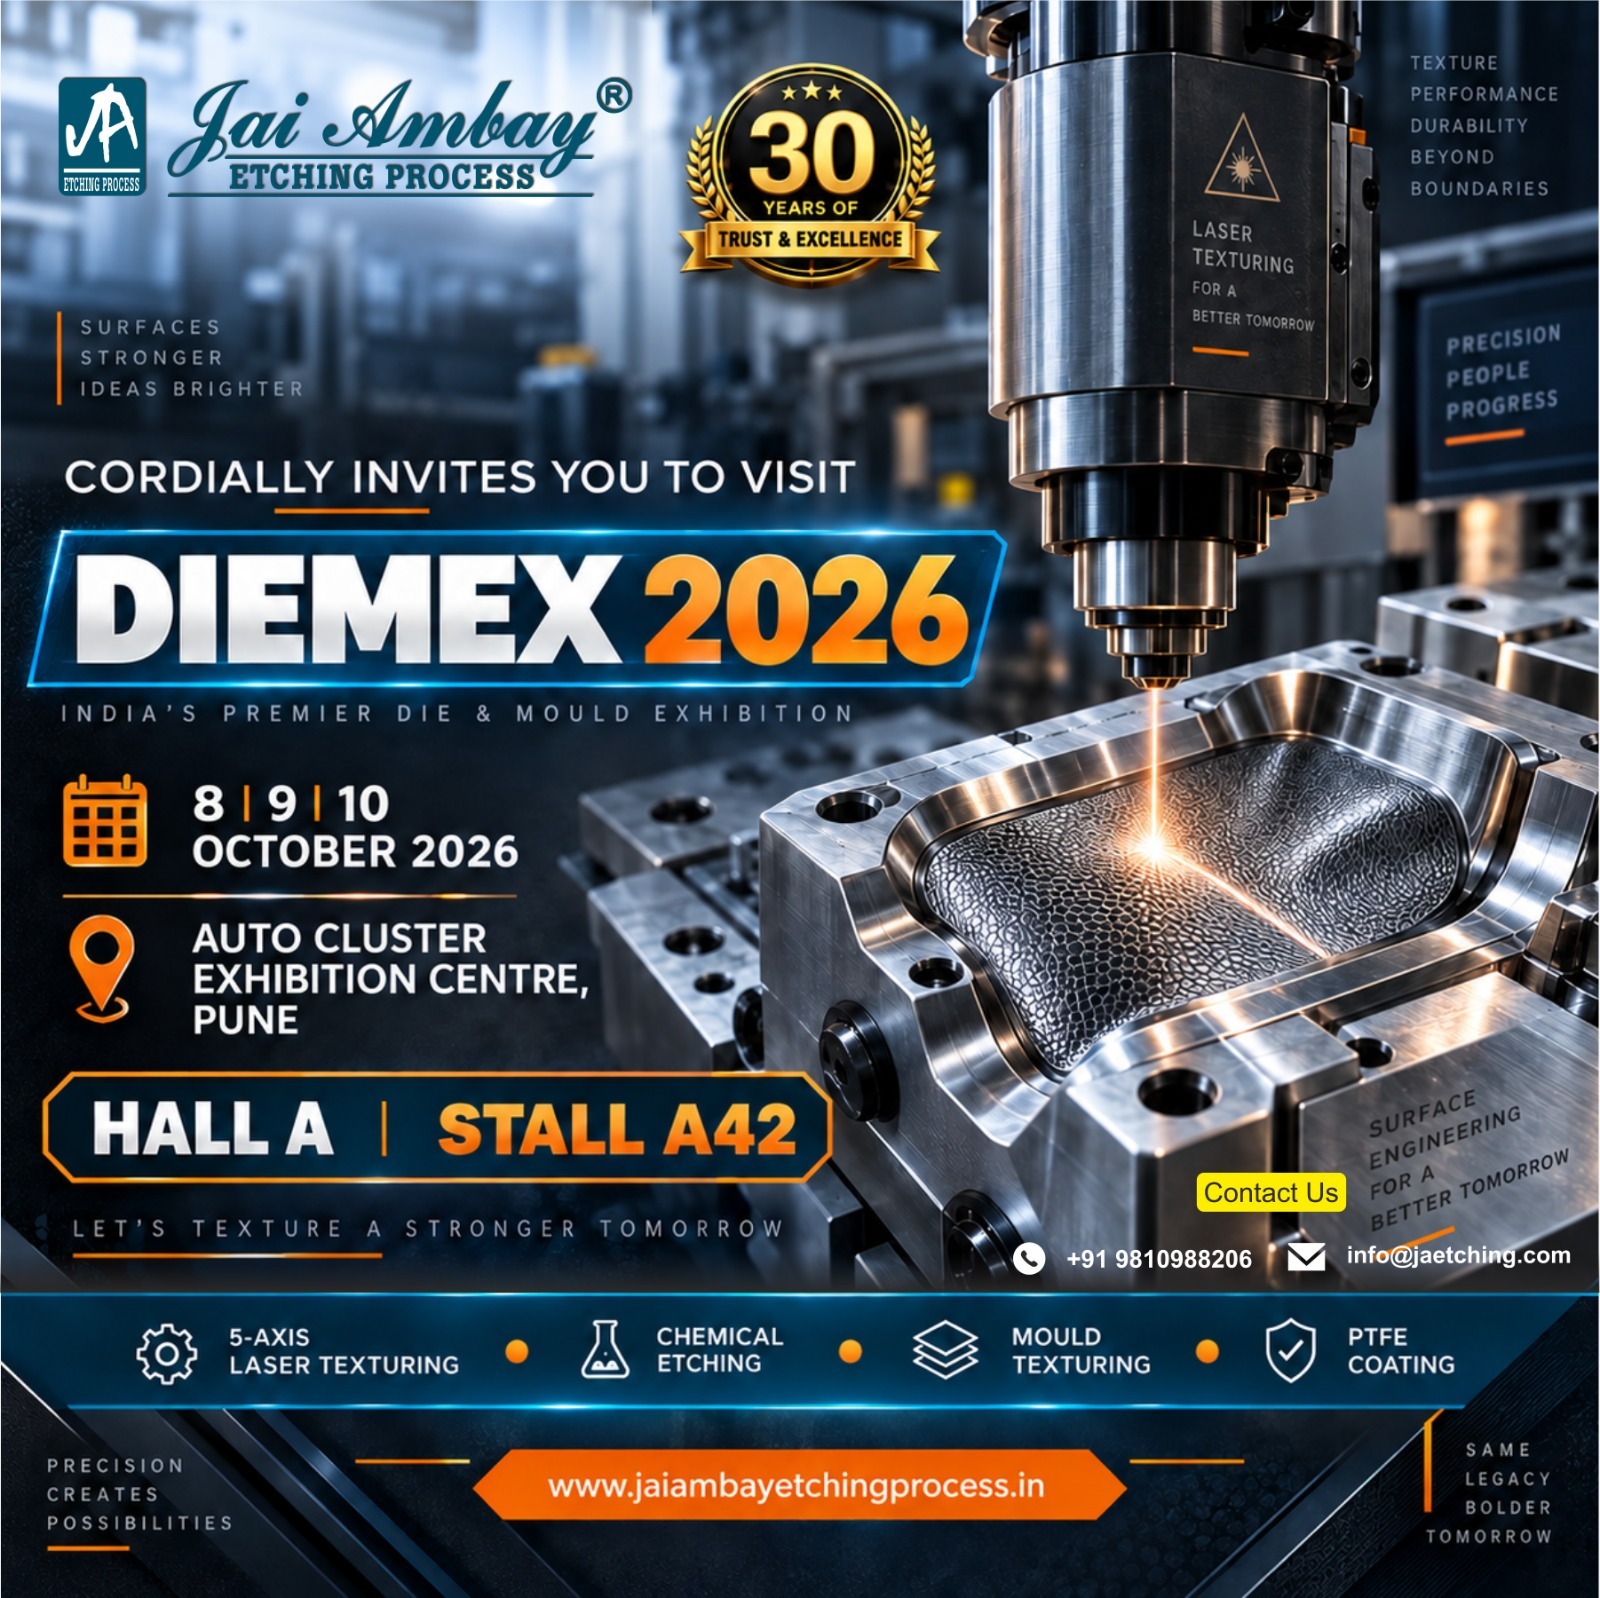

Look closely at a car dashboard, a shampoo bottle, or a shoe sole, and you will notice a grain, a matte finish, or a fine pattern. That texture is not printed on the part. It is cut into the mould, so every part that comes off the tool carries the same finish. Understanding the mould texturing process explained in plain steps helps you brief a supplier better and know what quality to expect.
This walkthrough follows a tool from arrival to dispatch, so you can see what happens at each Step and why the order matters.
Mould texturing is the process of adding a pattern or finish to a mould's working surface so the moulded part takes on that texture. It improves appearance, hides minor flow marks, adds grip, and gives designers control over how a product looks and feels. It is used heavily in automotive, plastics, footwear, and consumer goods.
There are two routes to the finish.5 axis laser texturing uses a controlled beam that follows a digital design, andchemical etching uses masking and chemicals to bite the pattern into the surface. The steps below apply to both, with notes on where they differ.
Everything starts with the tool and the goal. The company inspects the mould for rust, scratches, tool marks, old texture, and uneven areas, and confirms the material and hardness. At the same time, the finish is agreed: the grain or pattern, how deep it should be, which areas get textured, and how it should look on the final part.
This Step sets the scope. A clear brief here, with a drawing, photographs, and a reference sample, prevents rework later and gives an accurate quote.
Texture is only as good as the surface under it. If the tool has defects, they will show through the finished grain. So the surface is prepared first, often withmould polishing to remove marks and even out the base, or withsand and shot blasting to clean and prepare it.
Skipping this step is one of the most common causes of a poor result. No machine or chemical can hide a scratch or a rust pit that was never removed. Preparation is quiet, unglamorous work, and it decides half the final quality.
For laser texturing, the pattern lives in a digital file. The design is checked, cleaned, scaled, and positioned to fit the tool. Natural grains, geometric patterns, and 3D effects are all built or adjusted here, and a test may be run on a sample area to confirm the look and depth before touching the production surface.
For chemical etching, this step is physical instead. The areas that should stay smooth are masked with a protective layer, leaving only the pattern zones exposed to the chemical. On large surfaces, big patterns sometimes have to be joined, which is where visible seams can appear if the work is not careful.
Now the finish is actually cut.
In laser texturing, the machine follows the digital path and removes material exactly where the design says. On a 5 axis system, the head tilts and the tool rotates so the beam stays at the correct angle on side walls, ribs, curves, and deep pockets. Because the texture comes from a file, it can be repeated across several cavities with close consistency and without visible joins.
In chemical etching, the exposed areas are treated so the chemical removes a small, controlled amount of material to form the pattern. It is a proven method, still useful for very large surfaces and certain deep grains, though pattern joints can show on big multi-section jobs.
Texture is judged by more than looks. The shop checks the depth against the brief, confirms the pattern is even, and verifies that every cavity matches on a multi-cavity tool. Depth control is important: too shallow and the grain barely reads on the part, too deep and the surface is changed more than intended and can affect release.
On laser work, the digital path repeats the same way each time, which is exactly why it is trusted when many cavities must carry an identical grain. This repeatability is a big reasonmould texturing has moved toward laser for demanding tools.
Some tools need a little more after texturing. Engraving may add a Design & Texture, or 3D detail, and the timing has to fit correctly into the sequence so it does not disturb the grain. Where release is difficult, or sticking is a problem, aPTFE non stick coating can be added to reduce friction and make the tool easier to run and clean.
These steps are optional and depend on the job, but when they are needed, doing them in the right order matters as much as doing them well.
Before the tool leaves, it is cleaned and reviewed one last time. The team checks the texture, depth, coverage, cavity match, and the overall surface condition, then packs the mould to protect the finish in transit. A saved digital file means the same texture can be reproduced later on a replacement insert or a second tool.
The sequence is not a formality. Preparation must come before texturing, because defects cannot be removed afterwards. Texturing usually comes before engraving, so the mark is not disturbed. Coating comes last, once the surface is final. Get the order wrong, and you can undo good work, add cost, or damage the tool. This is a strong argument for keeping the whole job with one shop that can polish, texture, engrave, and coat in sequence, rather than moving the mould between vendors and risking handling damage.
For most modern tools, laser texturing offers accuracy, seamless patterns, even depth, and repeatability across cavities, and it handles complex geometry that older methods struggle with. Chemical etching remains practical for some very large surfaces and certain deep, natural grains. The best choice depends on the mould's size, shape, and the finish you need, not on habit. A provider who offers both can recommend honestly instead of pushing the only service it owns.
Timelines vary with the tool. A single clean insert with a light grain can move quickly, while a large multi-cavity mould that needs preparation, deep texture, and full inspection takes longer. Preparation and checking often take as much time as the texturing itself, so a realistic schedule protects the finish rather than rushing it. Sharing your deadline early lets the shop plan the sequence without cutting steps.
Jai Ambay Etching Process has textured moulds since 1996, more than 30 years of surface finishing from our Bawana, Delhi NCR facility, trusted by manufacturers supplying Maruti Suzuki, Michelin, Samsung, and Relaxo. We run 5-axis laser texturing for flat and complex tools, plus polishing, chemical etching, engraving, marking, and PTFE coating under one roof, so your mould is prepared, textured, and inspected by a single team.
Send your mould drawing, photographs, and reference texture for a free quote within 24 hours. Call +91 98109 88206, message us on WhatsApp, or use thecontact page.
It is adding a grain, matte, or pattern finish to a mould's surface so every moulded part carries that texture, using laser or chemical methods.
Any scratch, rust, or old mark under the texture will show on the finished part, so the surface is polished or blasted before texturing.
Laser gives seamless, repeatable patterns and handles complex shapes. Chemical etching still suits some very large surfaces and deep grains.
Yes. A digital file repeats the identical pattern, and each cavity is checked so the grain matches across the tool.
Yes. Too shallow and the grain barely shows; too deep and it can change the surface and affect release, so depth is controlled and checked.
Yes. With a saved file, the texture can be reproduced, and worn tools can be prepared and re-textured when needed.
©2026 Jai Ambay Etching Process. All Rights Reserved.